11 Github
11.1 Basics
- A detailed tutorial of Git can be found here on the CS61B website.
- If you are already familiar with Git, you can reference the summary at the end of Section B.
- If you have made a mistake in Git, you can refer to On undoing, fixing, or removing commits in git (Robertson, n.d.) to undo, fix, or remove commits in git.
- For hands-on Git practice, see the UC Davis DataLab Git Sandbox - a collaborative repository for learning Git workflows.
11.2 GitHub Education and Copilot Access
11.2.1 GitHub Education Benefits
Students, faculty, and researchers at UC Davis can access GitHub Education benefits, which include free access to GitHub Pro features and various developer tools.
To sign up for GitHub Education:
- Visit the GitHub Education website
- Click “Get benefits” or “Join GitHub Education”
- Sign in with your GitHub account (or create one if you don’t have one)
- Complete the application form using your UC Davis email address (ending in
ucdavis.edu) - Provide proof of your academic affiliation (e.g., upload a photo of your student ID or university letter)
- Wait for approval (typically takes a few days)
Once approved, you’ll have access to the GitHub Student Developer Pack (for students) or GitHub Teacher Toolbox (for faculty), which includes numerous free tools and services for learning and development.
11.2.2 GitHub Copilot Access for UC Davis Members
GitHub Copilot is an AI-powered coding assistant that can significantly accelerate your work. As a member of the UC Davis GitHub organization, you may be eligible for a free Copilot seat.
To request a Copilot seat:
If you are not yet a member of the UC Davis GitHub organization:
- Ensure you have a GitHub account and have signed up for GitHub Education (see above)
- Go to the UC Davis IT ServiceHub GitHub page
- Click the blue “Get GitHub!” button near the top right
- When you receive the invitation email, make sure to check the “Ask for a GitHub Copilot seat (optional)” checkbox before joining (Figure 11.1)
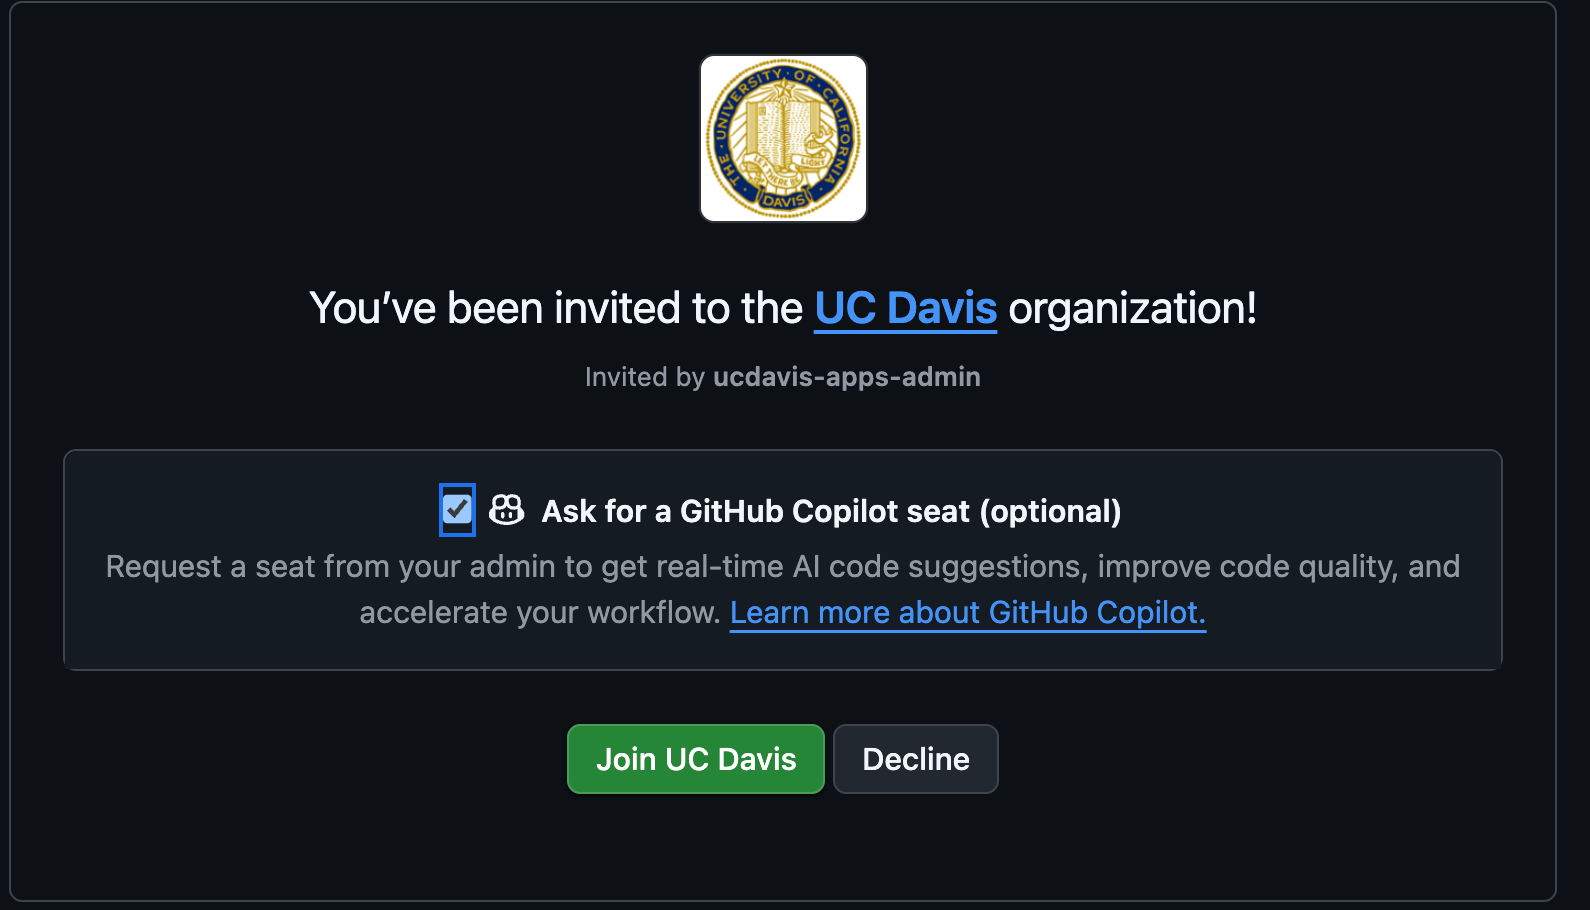
- Click “Join UC Davis” to accept the invitation
- Follow the setup instructions to install and configure Copilot in your development environment
If you are already a member of the UC Davis GitHub organization:
- Go to your GitHub Copilot settings
- Scroll to the “Get Copilot from an organization” section at the bottom
- Find the “ucdavis” entry and click the request button

- Wait for approval from the UC Davis GitHub organization administrators
- Once approved, follow the setup instructions to install and configure Copilot in your development environment
For guidance on using GitHub Copilot effectively, see the wai site’s “Best Practices for Safe and Successful Use” section.
11.3 GitHub Desktop
While knowing how to use Git on the command line will always be useful since the full power of Git and its customizations and flexibility is designed for use with the command line, GitHub also provides GitHub Desktop (“GitHub Desktop,” n.d.) as a graphical interface to do basic git commands; you can do all of the basic functions of Git using this desktop app. Feel free to use this as an alternative to Git on the command line if you prefer.
11.4 GitHub CLI and GitLab CLI
gh is the official GitHub command-line interface. It lets you manage pull requests, issues, repositories, and workflows without leaving the terminal. glab is the GitLab equivalent.
11.4.1 Installing gh
Follow the official installation guide for your platform. The most common routes are:
- macOS:
brew install gh - Linux (Debian/Ubuntu):
sudo apt install ghafter adding the GitHub CLI apt repository - Linux (Fedora/RHEL):
sudo dnf install gh - Windows:
winget install GitHub.cliorscoop install gh
After installing, authenticate:
gh auth loginOn Windows with Git Bash or MSYS2, see the wai site’s “Installing Claude Code on Windows” section for the winpty workaround if the interactive prompt fails.
11.4.2 Installing glab
Follow the official installation guide for your platform. The most common routes are:
- macOS:
brew install glab - Linux: download the latest package from the glab releases page, or use
sudo snap install glab - Windows:
scoop install glab, or download the installer from the glab releases page
After installing, authenticate:
glab auth loginOn Windows with Git Bash or MSYS2, see the wai site’s “Installing Claude Code on Windows” section for the winpty workaround if the interactive prompt fails.
11.5 Git Branching
Branches allow you to keep track of multiple versions of your work simultaneously, and you can easily switch between versions and merge branches together once you’ve finished working on a section and want it to join the rest of your code. Here are some cases when it may be a good idea to branch:
- You may want to make a dramatic change to your existing code (called refactoring) but it will break other parts of your project. But you want to be able to simultaneously work on other parts or you are collaborating with others, and you don’t want to break the code for them.
- You want to start working on a new part of the project, but you aren’t sure yet if your changes will work and make it to the final product.
- You are working with others and don’t want to mix up your current work with theirs, even if you want to bring your work together later in the future.
A detailed tutorial on Git Branching can be found here. You can also find instructions on how to handle merge conflicts when joining branches together.
11.6 Personal Dev Branches
Feature branches work best when each one stays small and scoped, but day-to-day exploratory work does not arrive in tidy, scoped units. Personal dev branches let you have both.
Each developer can keep a long-lived personal branch — named after them, for example dev-ezra — that they push to freely: experiments, half-finished ideas, notes-to-self, and fixes for whatever they bump into along the way. Nobody reviews a dev branch and nothing merges from it directly, so there is no pressure to keep it clean.
When some of that work is ready to contribute back to main:
- Start a new feature branch from the current
main(not from the dev branch). - Cherry-pick the commits you want to contribute from the dev branch onto the feature branch.
- Open a pull request from the feature branch onto
mainas usual.
# one-time setup: create your personal dev branch from current main
git switch -c dev-ezra origin/main
git push -u origin dev-ezra

# daily work: push freely
git switch dev-ezra

# ready to contribute: branch from current main ...
git fetch origin
git switch -c feat-cleaning-helpers origin/main

# ... pull over just the commits that belong in this contribution
git log --oneline dev-ezra           # find the commit hashes
git cherry-pick <hash1> <hash2>

git push -u origin feat-cleaning-helpers
# then open the PR from feat-cleaning-helpers onto main(git switch is the modern, branch-only successor to git checkout; git checkout dev-ezra and git checkout -b feat-cleaning-helpers origin/main, matching the commands used elsewhere in this chapter, do the same thing.)
This way you can flow naturally while working — no stopping to plan a minimal, modular pull request in advance — and still deliver PRs that are minimal and modular, because the scoping happens at cherry-pick time instead.
Two habits make the cherry-picking step painless:
- Commit in small, single-topic units on your dev branch. A commit that mixes two unrelated changes cannot be cherry-picked into two different PRs.
- Sync the dev branch with
mainperiodically (git merge origin/main), so your experiments build on current code and your cherry-picks transplant cleanly.
11.7 Example Workflow
A standard workflow when starting on a new project and contributing code looks like this:
| Command | Description |
|---|---|
SETUP: FIRST TIME ONLY: git clone <url> <directory_name> |
Clone the repo. This copies of all the project files in its current state on Github to your local computer. |
1. git pull origin master |
update the state of your files to match the most current version on GitHub |
2. git checkout -b <new_branch_name> |
create new branch that you’ll be working on and go to it |
| 3. Make some file changes | work on your feature/implementation |
4. git add -p |
add changes to stage for commit, going through changes line by line |
5. git commit -m <commit message> |
commit files with a message |
6. git push -u origin <branch_name> |
push branch to remote and set to track (-u only needed if this is first push) |
| 7. Repeat step 4-5. | work and commit often |
8. git push |
push work to remote branch for others to view |
9. Follow the link given from the git push command to submit a pull request (PR) on GitHub online |
PR merges in work from your branch into master |
| (10.) Your changes and PR get approved, your reviewer deletes your remote branch upon merging | |
11. git fetch --all --prune |
clean up your local git by untracking deleted remote branches |
11.8 Pull Request Roles
Every pull request involves several people, each with a distinct role.
11.8.1 Issue Creator
The issue creator reports a bug, suggests a feature, or requests other improvements. In projects with external contributors, the issue creator often cannot assign issues to developers and is typically distinct from the PR author.
11.8.3 Reviewer
The reviewer reads the diff, checks the code for correctness and style, and either approves or requests changes.
11.8.4 Merger
The merger executes the final merge once the PR is approved and all CI checks pass. This is often the same person as the reviewer.
11.8.5 Assignee
The assignee is listed in the “Assignees” field on GitHub to indicate who is currently responsible for the PR. This field clarifies ownership and tracks who should be addressing open feedback.
11.8.6 PR Steward
A PR steward keeps the review queue healthy. The steward monitors open PRs, assigns reviewers when none are assigned, follows up on stalled reviews, and helps resolve disagreements between authors and reviewers. This is typically a rotating duty for a senior contributor or release manager. The p5.js project documents how it structures this role in its steward guidelines.
11.9 Commonly Used Git Commands
| Command | Description |
|---|---|
git clone <url> <directory_name> |
clone a repository, only needs to be done the first time |
git pull origin master |
pull from master before making any changes |
git branch |
check what branch you are on |
git branch -a |
check what branch you are on + all remote branches |
git checkout -b <new_branch_name> |
create new branch and go to it (only necessary when you create a new branch) |
git checkout <branch name> |
switch to branch |
git add <file name> |
add file to stage for commit |
git add -p |
adds changes to commit, showing you changes one by one |
git commit -m <commit message> |
commit file with a message |
git push -u origin <branch_name> |
push branch to remote and set to track (-u only works if this is first push) |
git branch --set-upstream-to origin <branch_name> |
set upstream to origin/<branch_name> (use if you forgot -u on first push) |
git push origin <branch_name> |
push work to branch |
git checkout <branch_name> git merge master |
switch to branch and merge changes from master into <branch_name> (two commands) |
git merge <branch_name> master |
switch to branch and merge changes from master into <branch_name> (one command) |
git checkout --track origin/<branch_name> |
pulls a remote branch and creates a local branch to track it (use when trying to pull someone else’s branch onto your local computer) |
git push --delete <remote_name> <branch_name> |
delete remote branch |
git branch -d <branch_name> |
deletes local branch, -D to force |
git fetch --all --prune |
untrack deleted remote branches |
11.10 How often should I commit?
It is good practice to commit every 15 minutes, or every time you make a significant change. It is better to commit more rather than less.
11.11 Repeated Amend Workflow
When working on a complex task, you may want to make frequent incremental commits to protect your progress, but avoid cluttering your Git history with many tiny “work in progress” commits. The Repeated Amend pattern lets you build up a polished commit gradually.
11.11.1 Basic Workflow
Start with a clean working tree in a functional state. Then:
- Make a small change and verify your project still works
- Stage and commit with a temporary message like “WIP” (work in progress)
- Do not push yet
- Make another small change and verify it works
- Stage and amend the previous commit:
git commit --amend --no-edit - Repeat steps 4-5 as needed
- When finished, amend one final time with a proper commit message
- Push your completed work
In RStudio, you can use the “Amend previous commit” checkbox when committing.
11.11.2 Key Points
- Each amend replaces the previous commit rather than creating a new one
- This keeps your history clean while letting you work incrementally
- Only use this pattern before pushing - never amend commits that others may have pulled
- If you need to undo changes, use
git reset --hardto return to your last commit state - Think of commits as climbing protection: use them when in uncertain territory
For more details and troubleshooting scenarios, see the Repeated Amend chapter in Happy Git with R.
11.12 What should be pushed to Github?
Never push .Rout files! If someone else runs an R script and creates an .Rout file at the same time and both of you try to push to github, it is incredibly difficult to reconcile these two logs. If you run logs, keep them on your own system or (preferably) set up a shared directory where all logs are name and date timestamped.
There is a standardized .gitignore for R which you can download and add to your project. This ensures you’re not committing log files or things that would otherwise best be left ignored to GitHub. This is a great discussion of project-oriented workflows, extolling the virtues of a self-contained, portable projects, for your reference.
11.13 GitLab
Our lab primarily uses GitHub, but you may encounter GitLab — most often when collaborating with a group that self-hosts its own GitLab instance.
The two platforms support the same core workflow (clone, branch, push, review, merge), with a few differences worth knowing:
- Terminology. A GitHub pull request is a GitLab merge request (MR); the concept is identical.
- Hosting. GitLab is open-core and designed for self-hosting, so organizations often run their own instance behind their firewall; GitHub repositories almost always live on github.com.
- Continuous integration. GitLab ships a built-in CI/CD system configured by a single
.gitlab-ci.ymlfile at the repository root, where GitHub uses GitHub Actions workflows under.github/workflows/(see Chapter 13). - Command-line tool.
glabis the GitLab counterpart togh; installation and authentication are covered in Section 11.4.
Two R packages help when working with GitLab from R (the second works across both forges):
{gitlabr}provides R access to the GitLab API, with convenience wrappers for common tasks (repository file access, issue assignment and status, commenting).{pr.helpers}, our lab’s own (experimental) package, provides helpers for common pull/merge request workflows from a local Git repository — creating and switching branches, fetching requests by number, generating request URLs, and syncing with the default branch — and works across both GitHub and GitLab remotes.
11.14 Customizing How Files Appear on GitHub
GitHub uses a tool called Linguist to detect languages in your repository and generate language statistics. You can customize how certain files are treated by GitHub using a .gitattributes file in the root of your repository. This is particularly useful for marking generated files, documentation, or vendored code that shouldn’t count toward your repository’s language statistics.
11.14.1 The linguist-generated Attribute
One of the most useful attributes is linguist-generated, which marks files as generated code. Files marked this way are:
- Excluded from language statistics - they won’t affect your repository’s language breakdown
- Hidden by default in diffs - making pull request reviews cleaner and more focused on actual code changes
Common use cases for linguist-generated include:
- Compiled or minified files (e.g.,
*.min.js,*.min.css) - Auto-generated documentation files
- Files generated by build tools or code generators
- Lock files that are updated automatically
For more details, see the Generated code documentation.
11.14.2 Using .gitattributes
Create a .gitattributes file in the root of your repository and add patterns for files you want to mark as generated:
# Mark minified JavaScript as generated
*.min.js linguist-generated

# Mark search index as generated
search/index.json linguist-generated

# Mark compiled CSS as generated
dist/styles.css linguist-generated
To unmark a file that would normally be considered generated:
# Don't treat bootstrap as generated
bootstrap.min.css -linguist-generated
The .gitattributes file uses the same pattern matching rules as .gitignore. For more details, see the pattern format documentation and the Using gitattributes guide.
11.14.3 Other Useful Linguist Attributes
Beyond linguist-generated, you can use several other attributes:
linguist-vendored- Marks vendored code (libraries you didn’t write) to exclude from stats (documentation)linguist-documentation- Marks documentation files to exclude from stats (documentation)linguist-detectable- Forces a file type to be included in language stats (useful for data or prose files) (documentation)linguist-language=<name>- Overrides the detected language for syntax highlighting (documentation)
Example .gitattributes file:
# Exclude vendored dependencies
vendor/* linguist-vendored

# Exclude generated files
*.generated.ts linguist-generated
dist/* linguist-generated

# Mark documentation
docs/* linguist-documentation

# Force R Markdown files to be detected
*.Rmd linguist-detectable
For complete documentation, see Customizing how changed files appear on GitHub and the Linguist overrides documentation.